How to Use EasyBCD 2.4 to Set Up a Multi-Boot System:
- Download and Install EasyBCD:
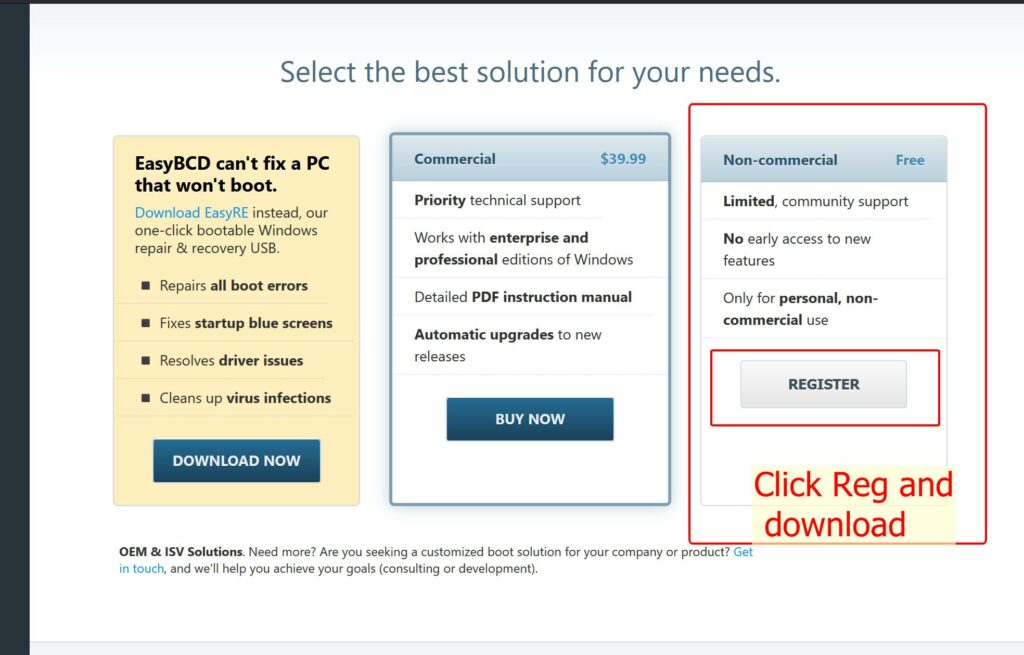
Download the EasyBCD 2.4 version from its official website or a trusted source, then install the software on your computer. - Create a Partition for the New Operating System:
Before installing a new operating system, create an empty partition on your hard drive to store it.
Use Windows Disk Management or other partitioning tools to split the drive. - Install the New Operating System:
Boot from the installation disk or USB containing the setup files for the new operating system, then proceed to install it onto the created partition. - Configure the Boot Menu with EasyBCD:
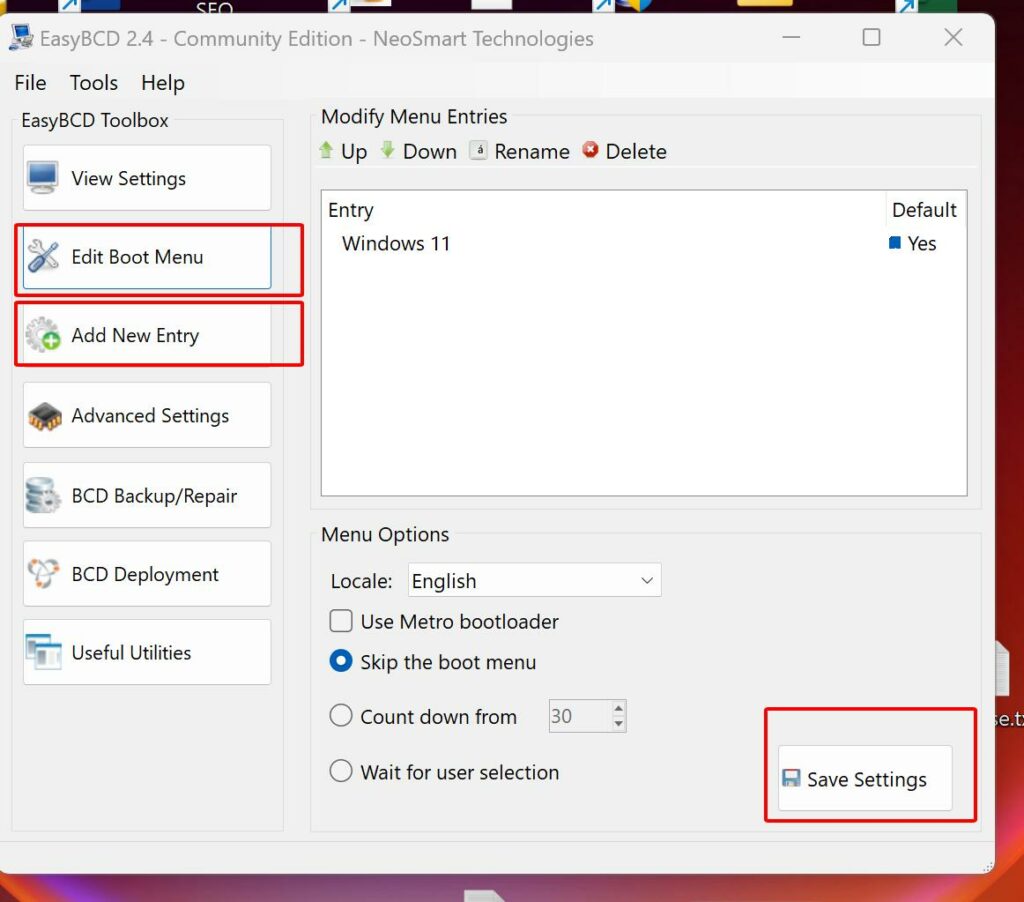
- Open EasyBCD and navigate to the “Add New Entry” section to add the new operating system to the boot menu.
- Select the type of operating system (Windows, Linux, macOS) and specify the partition where it is installed.
- Assign a name for the boot entry and save the configuration.
- Adjust the order of boot entries and the timeout duration in the “Edit Boot Menu” section.
- Save the Configuration and Reboot the Computer:
After completing the setup, save the changes and restart your computer.
The boot menu will now display the added operating systems, allowing you to choose which one to boot into.
With EasyBCD 2.4, setting up and managing a multiboot environment becomes simple and efficient, making it easy for you to explore and work with multiple operating systems on the same computer.


